Ihr Warenkorb ist leer
⭐️⭐️⭐️⭐️⭐️ 7000+ Reviews | 30-Day Warranty | Secure Payments
⭐️⭐️⭐️⭐️⭐️ 7000+ Reviews | 30-Day Warranty | Secure Payments
How to Draw a Sunflower: A Step-by-Step Guide for Beginners
Februar 01, 2024 2 min lesen.
Are you ready for some artistic fun? If you've just discovered your artistic side you're in the right place. Don't worry about perfection because our goal here is for you to enjoy, learn, and appreciate your artistic journey.
We're taking baby steps—breaking down the process of drawing a sunflower into manageable bits. So grab your sketchbook and pencil!

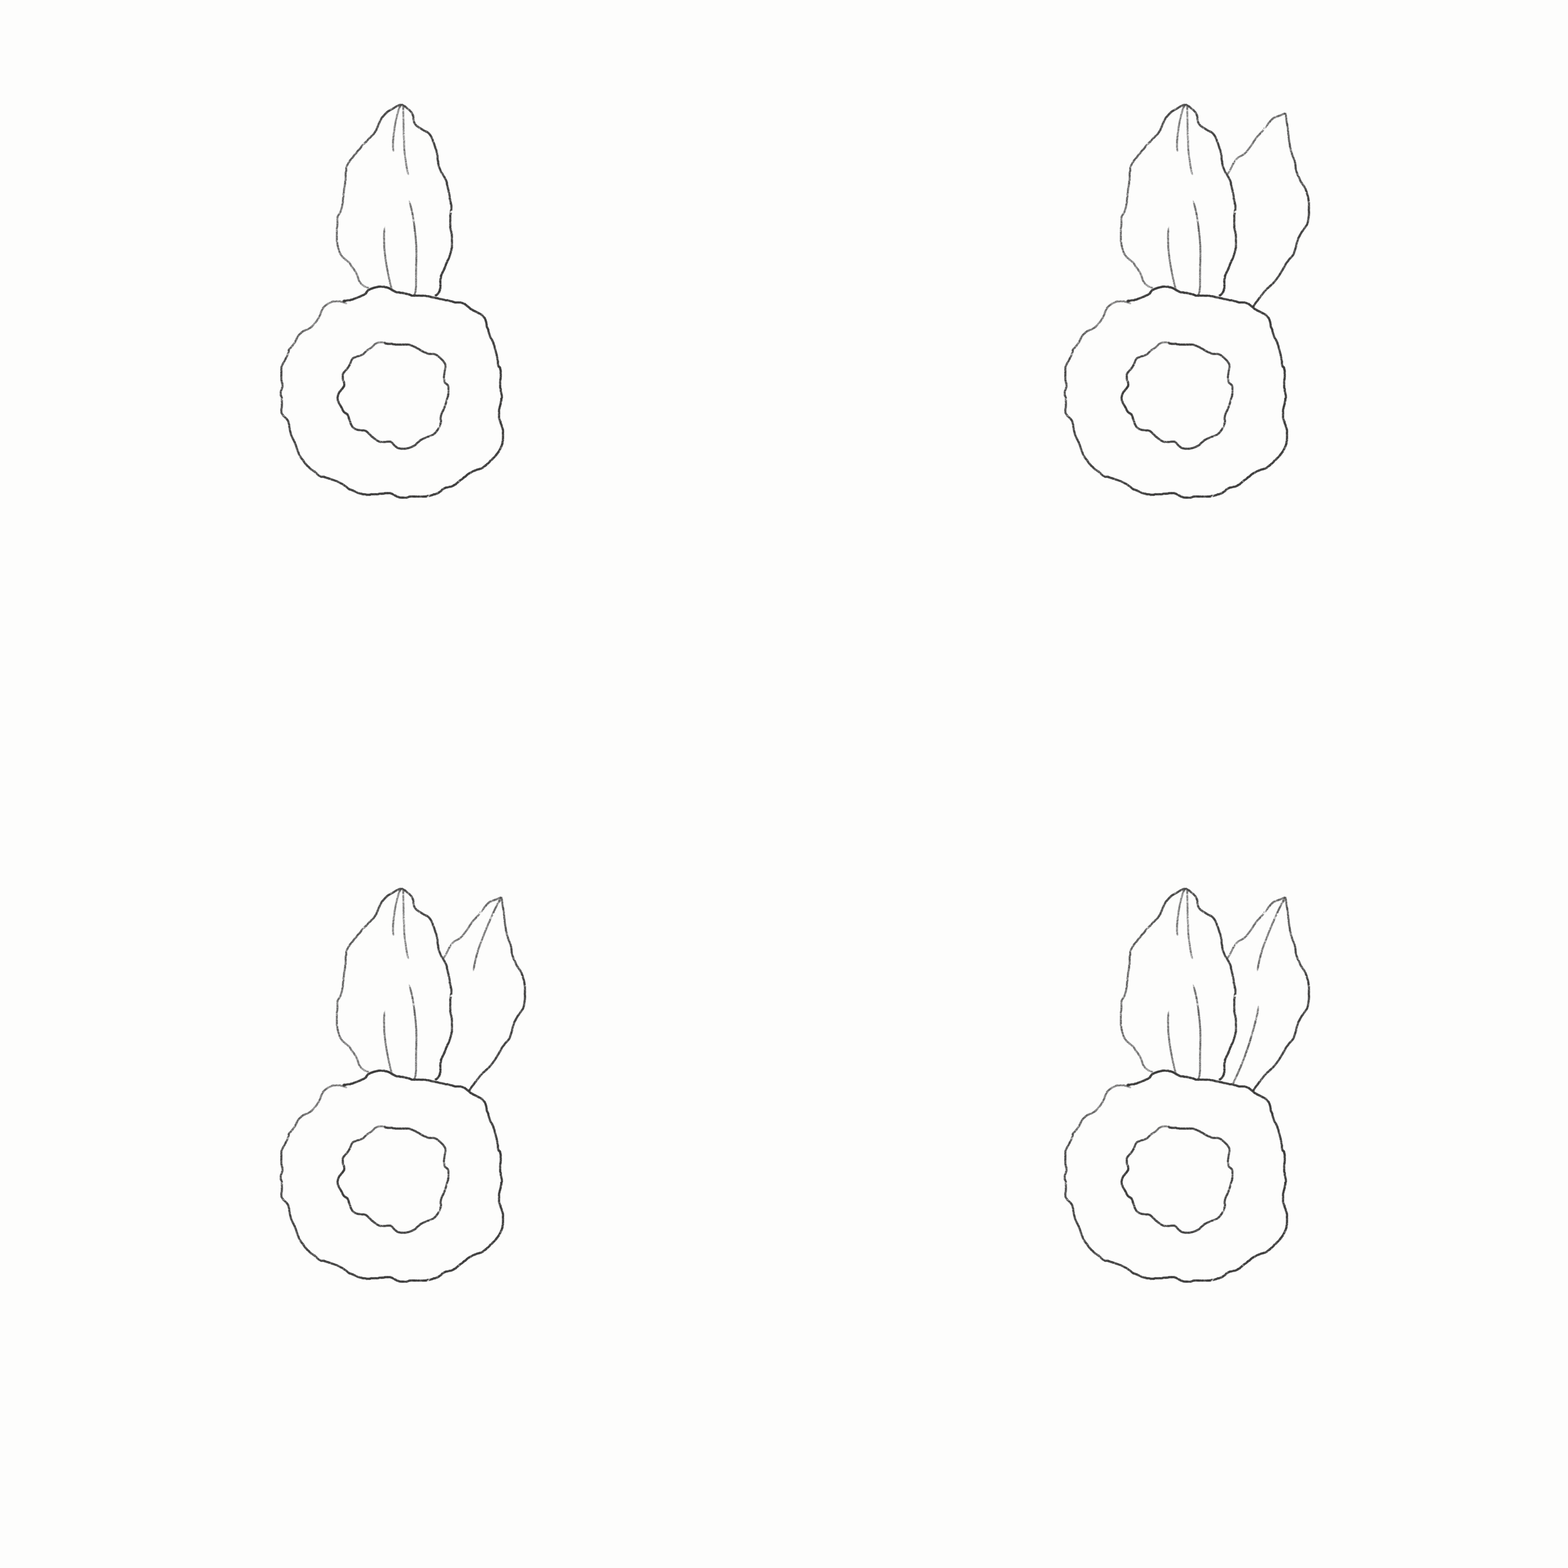
To start, draw a large circle with wavy edges and a smaller version inside the bigger one. This will represent the outer part of your sunflower's centre. Don't stress too much about making it perfect - sunflowers are known for their natural imperfections!

Now, it's time to draw an oblong shape with wavy edges extending out from the larger circle. This will be the first of many petals on your sunflower.

Once you've got the shape of your petal down, let's give it a bit more detail. Draw thin lines – both upward and downward – along the length of the petal. These lines will add depth to your sunflower.

Now, for a realistic touch, let's give our sunflower's first petal a friend. Draw a similar, curvy oblong shape that slightly overlaps behind the first petal. This technique will give your sunflower depth and an appealing multi-layered look.

Ready to complete your bloom? Continue the pattern we've created - drawing wavy, oblong petals with detail lines and layering them to create a full sunflower. Remember, the overlapping of petals is key in achieving that beautiful, lush sunflower appearance.
Watch our YouTube tutorial to see how this all comes to life visually and to learn how to add a pop of colour to your creation.
We're taking baby steps—breaking down the process of drawing a sunflower into manageable bits. So grab your sketchbook and pencil!
Gather your Supplies
Before we begin, make sure you have the following:- A sketchbook or paper
- Pencils or Pen
- Eraser
- Sharpener
Step 1: Draw a big and small circles with wavy edges

To start, draw a large circle with wavy edges and a smaller version inside the bigger one. This will represent the outer part of your sunflower's centre. Don't stress too much about making it perfect - sunflowers are known for their natural imperfections!
Step 2: Create an oblong shape for the petal

Now, it's time to draw an oblong shape with wavy edges extending out from the larger circle. This will be the first of many petals on your sunflower.
Step 3: Add some details to the petal

Once you've got the shape of your petal down, let's give it a bit more detail. Draw thin lines – both upward and downward – along the length of the petal. These lines will add depth to your sunflower.
Step 4: Draw your next petals

Now, for a realistic touch, let's give our sunflower's first petal a friend. Draw a similar, curvy oblong shape that slightly overlaps behind the first petal. This technique will give your sunflower depth and an appealing multi-layered look.
Step 5: Repeat steps 2 - 4 to form the flower

Ready to complete your bloom? Continue the pattern we've created - drawing wavy, oblong petals with detail lines and layering them to create a full sunflower. Remember, the overlapping of petals is key in achieving that beautiful, lush sunflower appearance.
Watch our YouTube tutorial to see how this all comes to life visually and to learn how to add a pop of colour to your creation.
Did you find this article helpful? Let us know in the comments! Share it with your friends using the social share buttons below.
Schreiben Sie einen Kommentar
Kommentare werden vor der Veröffentlichung genehmigt.
Vollständigen Artikel anzeigen

FOTM: August Free Printable Planner and Sticker Pack
August 14, 2024 1 min lesen.
Vollständigen Artikel anzeigen
Artist Feature: The Transformative Power of Art with Mary Jo Davis
Juni 06, 2024 4 min lesen.
Art has always been associated with glamour, aesthetic allure, and perfection.
Each brush stroke or penmark is done in pursuit of an ideal.
However, amid this facade, there exists a perspective that transcends the superficial perspective of art.
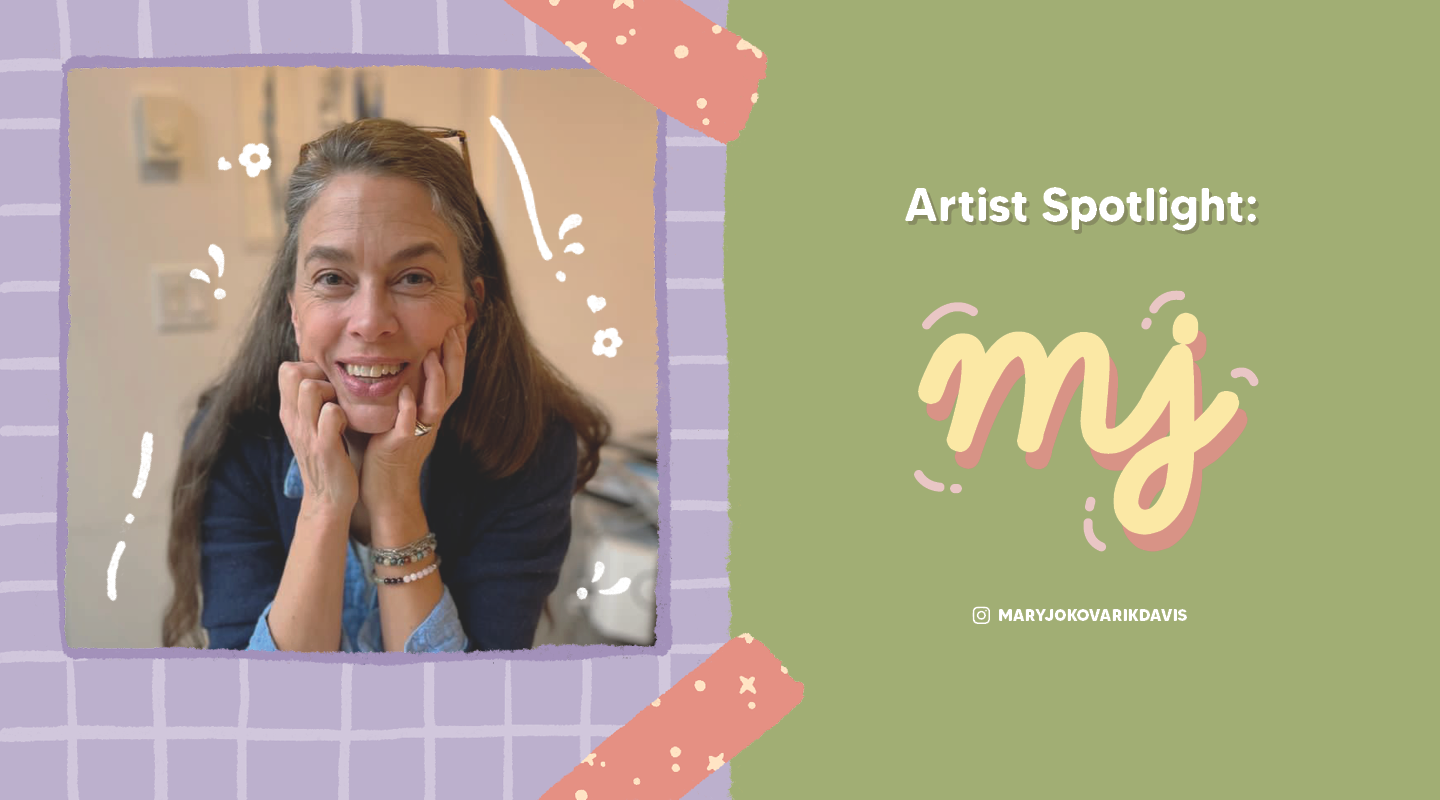
Mary Jo Davis (@maryjokovarikdavis) sees art beyond the glitz and glamour.
For her, art is an avenue to express the depth of her emotions or better yet, her reality.

Artist Spotlight: Find Yourself through Art with Emily
Mai 15, 2024 4 min lesen.
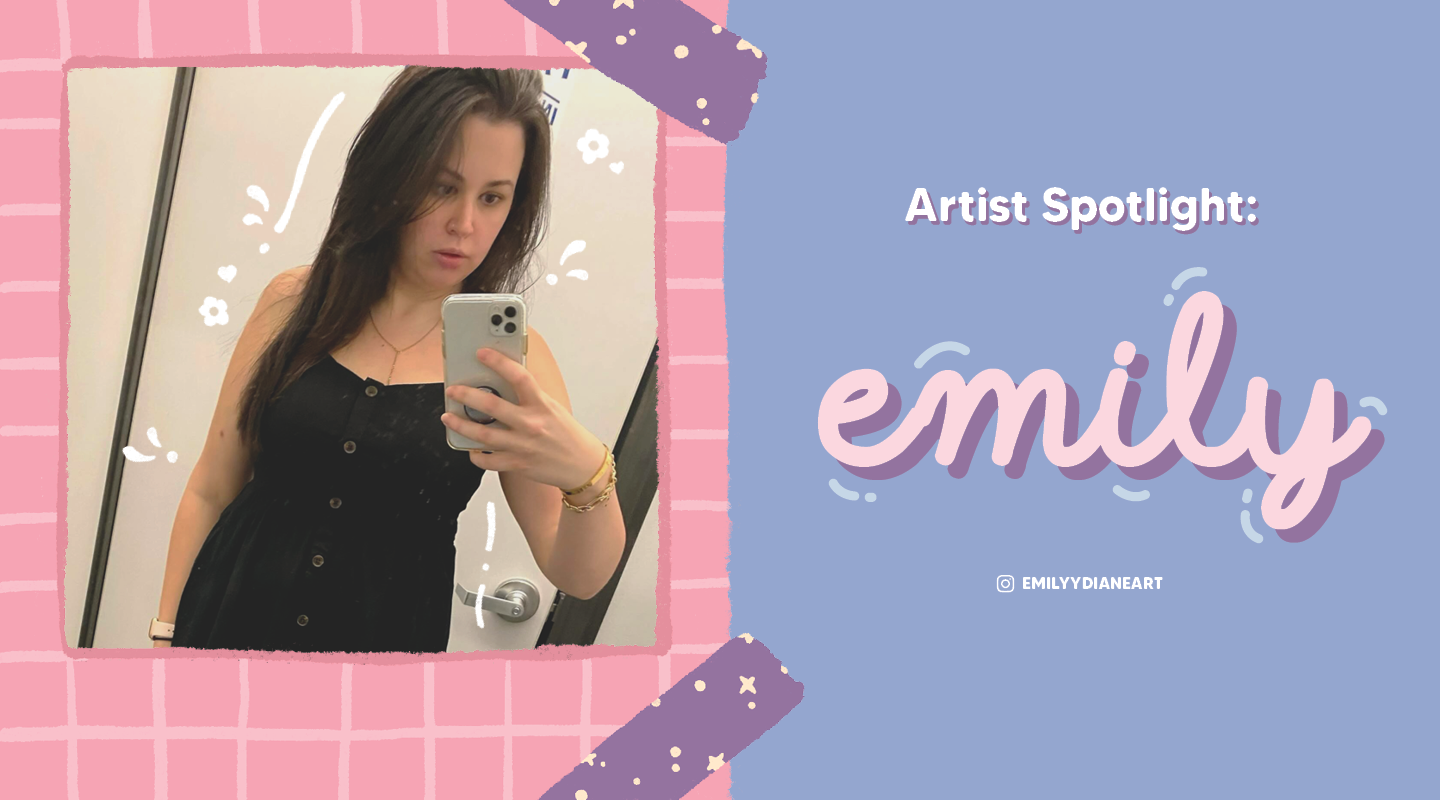
In this month’s feature, we’re excited to spotlight Emily (@emilyydianeart), an artist whose deep connection with art has been a guiding light through life’s darkest moments.
Vollständigen Artikel anzeigen Aktuelle Artikel
- FOTM: August Free Printable Planner and Sticker Pack
- Artist Feature: The Transformative Power of Art with Mary Jo Davis
- Artist Spotlight: Find Yourself through Art with Emily
- FOTM: April 2024 Free Printable Stickers and Habit Tracker
- How to Draw a Sunflower: A Step-by-Step Guide for Beginners
- FOTM: January 2024 Free Printable Stickers and Resolution Tracker
- FOTM: December Free Printable Christmas Tags
- 5 Easy Art Exercises for a Healthier Mind
- FOTM: November Free Printable Sticker Pack
- How To Create a PSL Ingredient Spread
Kategorien
Don’t miss out on the good stuff!
Want cool free stuff like this free Cosy Woodland Bujo Kit Printables?
Sign up to our newsletter to claim yours and get regular access to freebies!
